Cooling chili incorrectly—even by just a few degrees or a few extra minutes in the danger zone—can trigger bacterial growth that leads to foodborne illness, failed health inspections, and wasted product. Between 2014 and 2022, improper cooling was cited as a contributing factor in 251 foodborne illness outbreaks reported to the CDC. In fact, a CDC analysis found that improper or slow cooling was implicated in 10.6% of all retail food establishment outbreaks, making it the most common proliferation-related contributing factor.
This article covers the exact step-by-step process for cooling chili containers properly, the key variables that affect cooling speed, what equipment you need, and the most common mistakes to avoid.
TL;DR
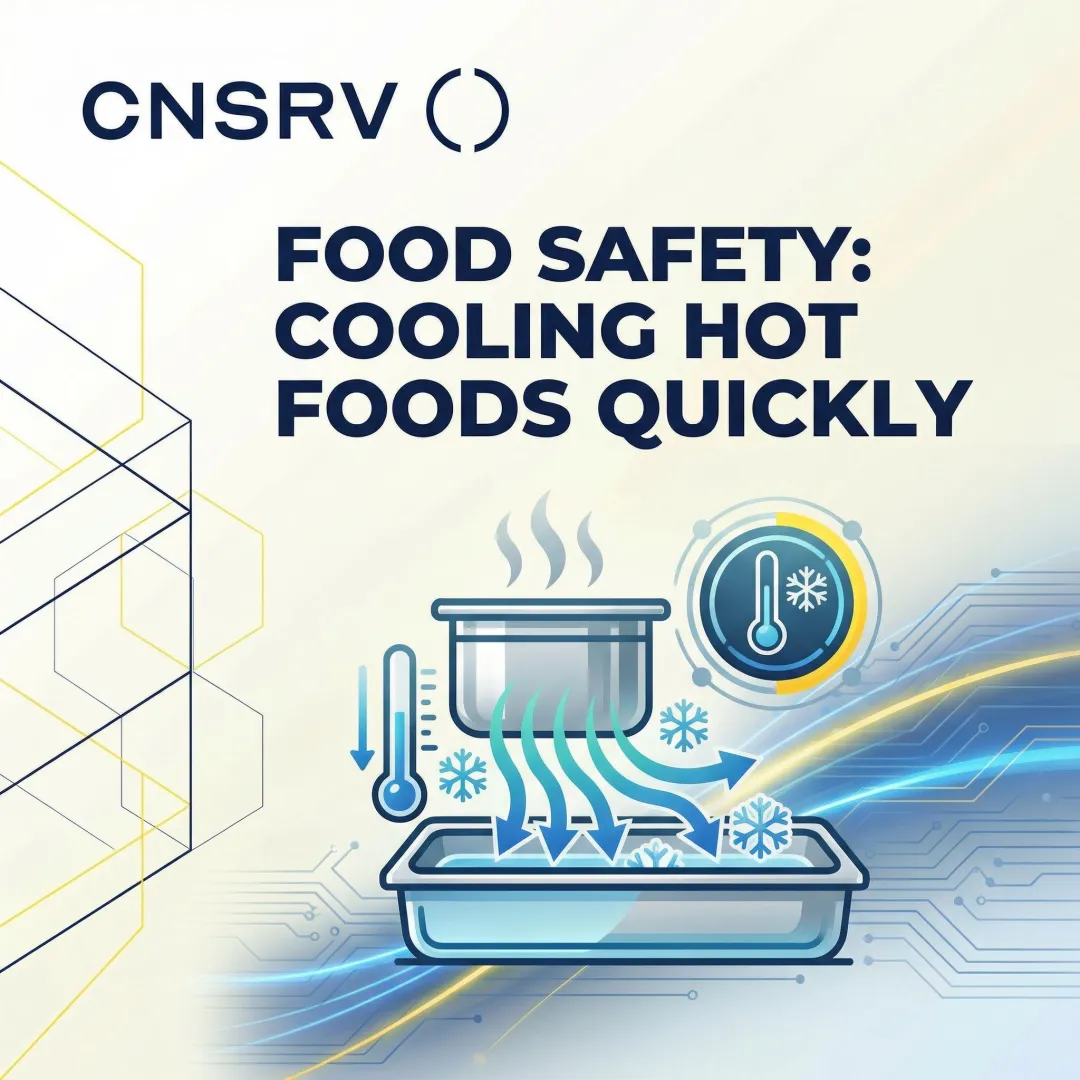
- The FDA two-stage cooling rule requires 135°F → 70°F within 2 hours, then 70°F → 41°F within the next 4 hours
- Divide large batches into shallow, portioned containers before beginning any cooling process—never try to cool a full stockpot as a single unit
- An ice bath is the most effective and code-compliant method for accelerating the first stage of cooling before refrigeration
- Use a calibrated food thermometer to verify temperatures at each stage—visual or time-based guessing is not sufficient
- The most common cooling failures: covering containers too soon, overcrowding refrigerators, and skipping portioning
How to Properly Cool Chili Containers: Step-by-Step
Step 1: Portion the Chili into Shallow Containers
A full stockpot or deep container of chili retains core heat far longer than the danger zone allows. The goal is to maximize surface area exposure for faster heat dissipation.
ServSafe Manager (8th Edition, 2022) specifies that dense foods like chili should be divided into shallow pans no deeper than 2 to 3 inches. This isn't arbitrary — cooling time is proportional to the square of the food's depth. Reducing depth from 12 inches to 2 inches can cut cooling time by a factor of 36 or more.

In chili, natural convection is severely limited, so cooling depends almost entirely on conduction. Heat travels outward from the core to the cooler outer surfaces — the shorter that distance, the faster the cooling.
Container requirements:
- Use food-safe, heat-tolerant containers — stainless steel or aluminum conducts heat more effectively than plastic
- Label each container with the time cooling began (required for health code documentation in most jurisdictions)
- Arrange containers to allow maximum airflow during refrigeration
Step 2: Set Up an Ice Bath
The ice bath is the most effective method for accelerating Stage 1 cooling (135°F to 70°F within 2 hours).
- Fill a clean prep sink or large basin with ice and cold water
- Submerge containers so the ice water reaches the same level as the food inside
- Maintain a dense ice-to-water ratio — mostly ice with just enough water to create a slurry
- Replenish ice as it melts to maintain bath temperature throughout the cooling window
Stir the chili every 10 to 15 minutes. For dense foods, agitation is essential — it drives heat from the core to the cooler edges and into the surrounding ice water.
For high-volume kitchens mindful of water consumption, ice bath cooling can add up across daily operations. Blast chillers are one water-efficient alternative. CNSRV builds commercial kitchen equipment around this same principle — their defrosting system uses controlled water circulation and 98% less water than traditional running-faucet methods, demonstrating that food safety compliance and conservation aren't mutually exclusive.
Step 3: Monitor Temperature and Timing
The FDA two-stage cooling timeline sets the compliance standard:
- Stage 1: Cool from 135°F to 70°F within 2 hours
- Stage 2: Cool from 70°F to 41°F within the following 4 hours
- Total cooling window: 6 hours maximum
Use a calibrated probe thermometer to check the core temperature of each container — not just the surface or the liquid at the top. Per FDA Food Code, thermometers must be accurate to ±2°F (or ±1°C) and calibrated regularly to maintain that accuracy.
Log temperature and time on a cooling chart for health code compliance. A compliant cooling log should include:
- Food/product identification
- Date and start time
- Initial temperature
- Time-stamped checkpoint temperatures (minimum at the 2-hour and 6-hour marks)
- Final temperature and time
- Staff initials for each reading
- Corrective actions taken (if any)

Health inspectors specifically look for cooling logs during audits. A 2018 local retail risk factor study found that 54.55% of observed active cooling operations were non-compliant with regulations.
Step 4: Transfer to Refrigeration for Final Cooling
Once chili reaches approximately 70°F, the ice bath has done its job. Refrigeration handles Stage 2 cooling from there.
Skipping the ice bath pre-cooling step and placing warm containers directly into refrigeration raises the ambient temperature inside the unit and puts other stored foods at risk. Commercial refrigerators are built to hold cold temperatures — not to cool large masses of hot food.
Refrigeration best practices:
- Keep containers uncovered or loosely covered during refrigeration to allow continued heat release
- Cover fully only once food reaches 41°F or below
- Avoid overcrowding — arrange containers to allow cold air circulation
- Verify the refrigerator holds at 41°F or below before adding warm containers
Key Factors That Affect How Quickly Chili Cools
Cooling speed is not automatic—it depends on four controllable variables: container depth, chili consistency, ice bath maintenance, and refrigerator load. Failing to manage any one of them can leave a batch in the danger zone too long.
Container Depth and Surface Area
The deeper the container, the longer the core retains heat. Chili's density makes this effect more pronounced than with thinner, broth-based liquids.
Containers that are too deep routinely fail the 2-hour Stage 1 cooling window, even with an ice bath. Cooling time is roughly proportional to the square of the food's depth — a Dickerson & Read (1973) study found that a 14-gallon container of beef stew took 84 hours to cool from 115°F to 50°F in a walk-in refrigerator. That's why portioning into shallow pans is non-negotiable.
Chili Consistency and Fat Content
Higher fat content and thicker consistency reduce thermal conductivity, meaning heat escapes more slowly from dense chili than from a broth-based soup.
Fat conducts heat less efficiently than water. In chili — which combines significant amounts of both — higher fat content slows the overall rate of heat transfer. The presence of particulates like beans and meat further inhibits internal fluid movement, suppressing natural convection and turning the cooling process into a slow, conduction-based one.
Ice-to-Water Ratio in the Bath
An ice bath that's mostly water with little remaining ice loses cooling effectiveness fast — especially when multiple hot containers go in at once.
Staff should replenish ice before it melts down completely. As meltwater accumulates, drain it and add fresh ice to maintain a true slurry consistency throughout the entire cooling window.
Refrigerator Load and Airflow
Overcrowded refrigerators restrict cold air circulation, significantly slowing Stage 2 cooling and potentially compromising other stored food.
Commercial kitchens should schedule cooling around peak refrigerator load times and verify unit temperature stays at 41°F or below during high-volume storage periods. A large volume of hot food can overwhelm the unit's capacity, raising ambient temperature. That puts other Time/Temperature Control for Safety (TCS) foods into the danger zone.
What You Need Before Cooling Chili
Get your equipment staged before the chili comes off the heat. Scrambling to find containers or check refrigerator temps mid-batch is how cooling shortcuts and food safety violations happen.
Equipment and Supplies Checklist
- Shallow food-safe containers (2–4 inch depth maximum)
- Calibrated probe thermometer (accurate to ±2°F or ±1°C)
- Ice in sufficient quantity (plan to replenish as it melts)
- Clean sink or large basin for ice bath setup
- Cooling log or temperature documentation form
- Labels and markers for container time-stamping
Refrigeration Readiness
Verify your walk-in cooler or reach-in refrigerator is holding at 41°F or below before adding any warm containers—check it before cooling begins, not after. Confirm enough space exists for airflow around each container. Overcrowding is one of the most common causes of Stage 2 cooling failures.
Common Mistakes When Cooling Chili Containers
Cooling in the Original Stockpot
Many kitchens place the entire pot in an ice bath or directly in the walk-in. A full pot of chili insulates its own core and almost always causes a Stage 1 cooling failure.
The thick walls, large thermal mass, and limited surface area trap heat at the center — keeping the core in the temperature danger zone for many hours, sometimes exceeding 24.
Skipping the Ice Bath and Going Straight to Refrigeration
Placing hot chili (even in portioned containers) directly into a refrigerator skips the fastest cooling stage, overloads the unit, and risks cross-contamination of temperature for surrounding foods. It's also one of the most common violations cited during health inspections.
Not Logging Temperature Checkpoints
Failing to document cooling temperatures is not just a compliance risk—it means staff have no objective data to determine whether a batch is safe to serve or must be discarded. Health inspectors specifically look for cooling logs during audits. Without documentation, there is no proof of compliance with the two-stage cooling rule, even if the food was cooled correctly.
Alternative Methods for Cooling Chili Containers
The ice bath is the standard method, but commercial kitchens may also use or supplement with other approaches depending on batch volume and available equipment.
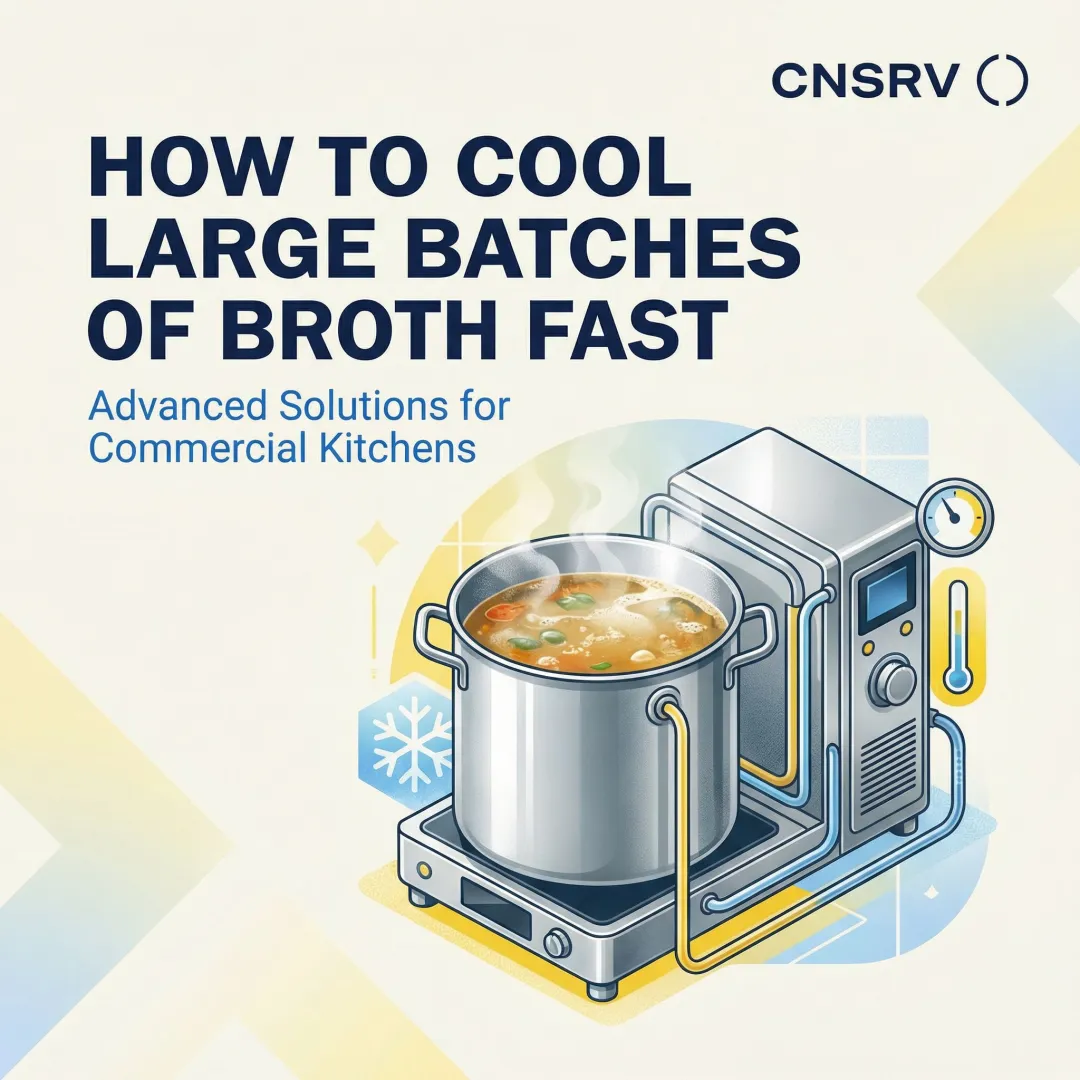
Blast Chiller
Best for high-volume commercial kitchens with large daily batch production. Blast chillers use very low temperatures and high-velocity air circulation to force food through the temperature danger zone quickly. Models like the Alto-Shaam QuickChillers meet HACCP/FDA codes, with some units chilling loads from 36 lbs to 240 lbs and cooling food from 140°F to 40°F within 4 hours.
The main drawback is cost — typically $3,000–$15,000 or more — plus the need for dedicated equipment space. This investment makes sense only for operations that regularly produce large volumes of cooked product.
Ice Paddle / Cooling Wand
A practical choice for medium-volume batches. The frozen paddle is submerged and used to stir hot foods, introducing a large cold surface area directly into the center of the food mass during the Stage 1 cooling window. Pairing it with an ice bath speeds up results further.
Key limitations to note:
- Must be frozen in advance — requires planning ahead
- Effectiveness depends on consistent stirring frequency by staff
- Not sufficient as a standalone method for large batches
Many commercial ice paddles are NSF Certified, making them acceptable to health inspectors.
Frozen Container Insert Method
Pre-frozen quart or hotel pan inserts placed inside the chili container work well for smaller batch operations. Another option: prepare chili with less water initially, then add the remaining water volume as ice at the start of the cooling process — effectively building cooling directly into the recipe.
Both approaches share the same constraints:
- Frozen inserts must be prepared ahead of time
- Less effective for thick, dense chili in deep containers
- Best used as a supplement, not a primary method
The FDA Food Code allows "adding ice as an ingredient," making this a compliant technique health inspectors accept when documented in your HACCP plan.
Conclusion
Properly cooling chili containers is a food safety requirement with specific temperature targets and hard time limits. The two-stage cooling method exists because the danger zone is real, and chili's density makes it especially vulnerable to holding heat. Between 2014 and 2022, improper cooling contributed to 251 foodborne illness outbreaks—a clear reminder that shortcuts have consequences.
Most cooling failures trace back to three preparation gaps:
- Not portioning into shallow containers before cooling begins
- Not staging ice baths or blast chiller space in advance
- Not monitoring temperatures or keeping documentation
High-performing commercial kitchens treat cooling as a system—containers, ice supply, thermometers, and logging practices built into daily prep workflows before service starts, not scrambled together after the fact.
Kitchens that build these steps into standard operating procedures stop relying on memory under pressure—and that consistency is what keeps dense, high-risk foods like chili out of the danger zone shift after shift.
Frequently Asked Questions
What is the best way to cool hot containers of chili?
The best method is to first divide chili into shallow containers (2–4 inches deep), then submerge them in an ice bath while stirring regularly every 10–15 minutes. Once the chili reaches 70°F, transfer containers to refrigeration for final cooling to 41°F or below.
How much time to safely cool chili from 135°F?
Chili must drop from 135°F to 70°F within 2 hours (Stage 1), and then from 70°F to 41°F within the following 4 hours (Stage 2)—for a total cooling window of 6 hours maximum, per the FDA Food Code.
How long will chili keep in the refrigerator?
Properly cooled chili can be stored in the refrigerator for 3 to 4 days, according to USDA guidance. Keep it covered and label each container with a use-by date once it reaches 41°F or below.
Can you put hot chili directly in the refrigerator?
Placing hot chili directly in a refrigerator is not recommended. It raises the internal temperature of the unit, puts surrounding food at risk of temperature abuse, and typically fails to meet Stage 1 cooling requirements within 2 hours.
What size containers should I use to cool chili quickly?
Shallow containers—typically no deeper than 2–4 inches—are recommended because they maximize surface area exposure and allow heat to dissipate faster than deep pots or full hotel pans.