Introduction
The FDA Food Code's two-stage cooling method is the default standard for commercial kitchens, but it's not the only legally acceptable approach. Choosing the right cooling method for each situation has a direct effect on food safety, compliance, and kitchen efficiency.
Slow or improper cooling is one of the most cited contributing factors in foodborne illness outbreaks in food service operations. According to CDC data from 2014–2022, improper cooling accounts for approximately 9.4% of all foodborne illness outbreaks reported through the National Outbreak Reporting System. Using an unapproved or ineffective alternative puts both guests and the business at risk.
This article explains what the two-stage method requires, what alternatives are recognized as acceptable, how to choose between them, and what documentation you need to stay compliant.
TL;DR
- The FDA two-stage method requires cooling food from 135°F to 70°F within 2 hours, then to 41°F within a total of 6 hours
- Acceptable alternatives include blast chilling, ice baths, ice paddle stirring, shallow pan portioning, and adding ice directly
- Any alternative must achieve the same food safety outcome and be documentable for health inspections
- The right method depends on food type, available equipment, and kitchen workflow
- Failing to cool food rapidly allows dangerous pathogens to multiply in the temperature danger zone
The Two-Stage Cooling Method and Why It Matters
The FDA Model Food Code (§3-501.14) defines the two-stage cooling method with specific temperature and time requirements:
- Hot food must drop from 135°F to 70°F within 2 hours
- Then continue cooling from 70°F to 41°F (or below) within the remaining 4 hours
- Total maximum cooling time: 6 hours

The range between 70°F and 135°F is where bacterial growth is most rapid. Pathogens like Clostridium perfringens thrive at temperatures between 109°F and 117°F, multiplying quickly without producing any detectable changes in smell, taste, or appearance. Clearing this critical range fast limits pathogen proliferation.
Because that bacterial risk is real, the FDA Food Code does allow operators to use alternative cooling methods — but only if those methods can be demonstrated to keep food safe. They must achieve equivalent or better results, and the operator must be able to substantiate this claim to their health authority.
Cooling is classified as a critical control point (CCP) — a juncture where failure has direct food safety consequences. Inspectors monitor it closely, and documentation is non-negotiable regardless of which method is used. For USDA-regulated establishments under HACCP plans, cooling must be formally designated as a CCP when the hazard analysis determines pathogen growth is "reasonably likely to occur."
Acceptable Alternatives to the Two-Stage Cooling Method
The FDA Food Code (§3-501.15) sets a temperature outcome, not a specific technique: food must reach safe temperatures within required timeframes. Any verified method that hits those targets is compliant.
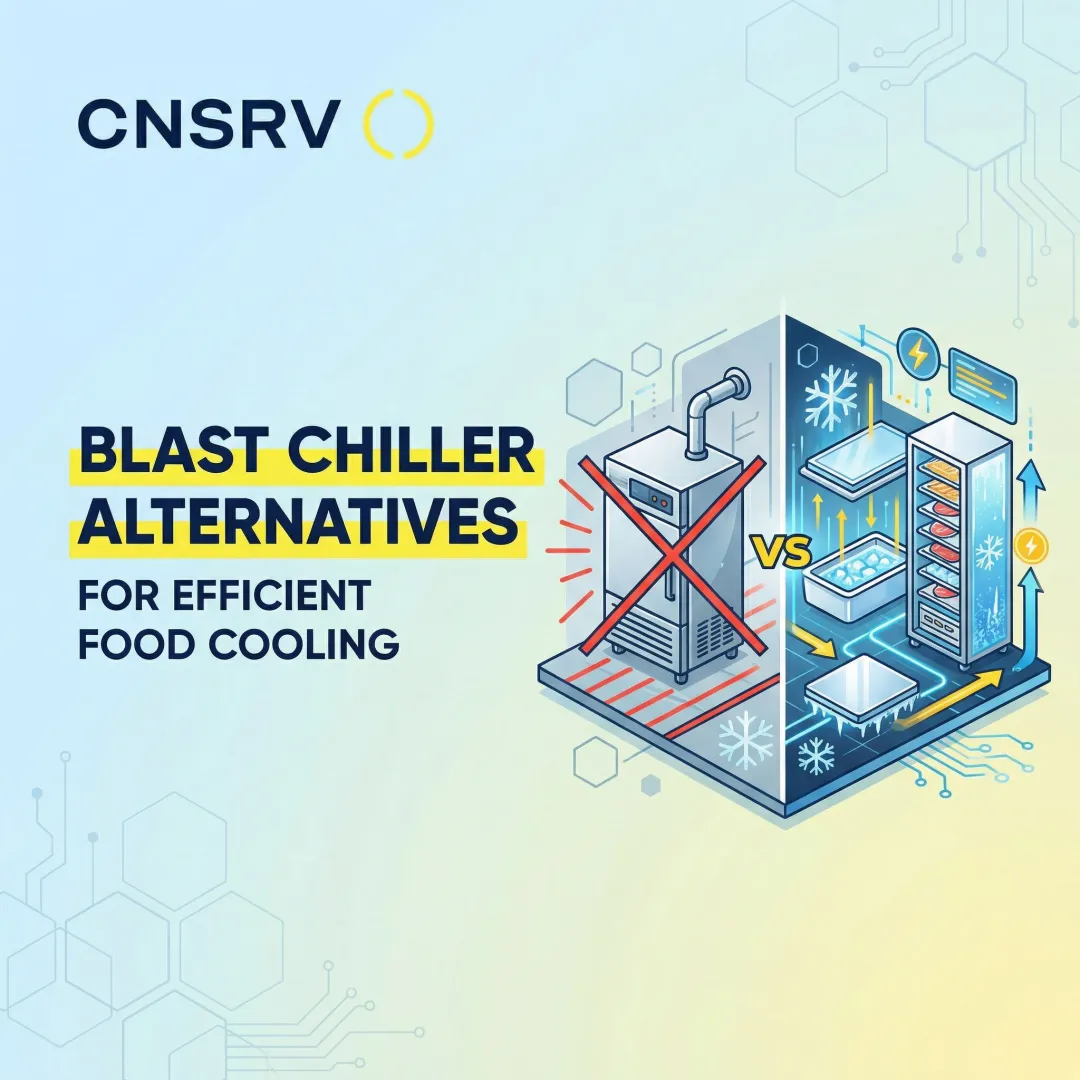
Blast Chilling
Blast chillers use high-velocity cold air to rapidly drop food temperatures—typically moving a full pan from 140°F to below 40°F in under 90 minutes. According to NSF/ANSI 7-2019 standards, rapid pull-down refrigerators must reduce internal food temperature from 135°F to 40°F within 4 hours or less. Some faster units, like those from American Panel, can cool products from 160°F to 38°F in just 90 minutes.
Best for: High-volume operations handling both solid and semi-solid foods
Requirements:
- Capital investment in equipment
- Regular calibration and maintenance
- Adequate electrical capacity
- Staff training on proper loading techniques
Advantages: Eliminates most timing risk associated with passive cooling and provides the most reliable, consistent results across different food types.
For kitchens without the budget for blast chilling equipment, immersion-based methods offer a practical alternative.
Ice Water Bath Immersion
This method involves placing a sealed container of hot food into a large bath of ice water with frequent stirring or agitation to speed up heat transfer. The FDA Model Food Code (§3-501.15) explicitly lists this as an approved technique.
It works best for liquids like stocks, soups, and sauces. Effectiveness depends on a few key factors:
- Fill the ice water bath to a level equal to or greater than the food level inside the container
- Stir frequently or constantly to break up the insulating layer of cooler food that forms against the container wall
- Create an ice slurry rather than just ice cubes in water
- Use metal containers when possible for better heat transfer
Common mistake: Failing to stir frequently compromises cooling efficiency significantly, according to CDC/EHS-Net observational studies.
Ice Paddle or Ice Wand Stirring
Ice paddles are hollow paddles pre-filled with water and frozen, then inserted directly into hot liquid foods to cool them from the inside out while stirring. This method accelerates cooling for large batches of soups or sauces that cannot easily be portioned.
Best for: Stirrable liquids in large batches
Critical requirements:
- Only works for liquid foods that can be stirred
- Paddles must be cleaned to "clean to sight and touch" standard (§4-601.11) and sanitized with hot water or an approved chemical sanitizer between uses, per FDA Food Code Chapter 4
Limitations: Not suitable for dense foods, casseroles, or items that cannot be stirred effectively.
Shallow Pan Portioning
This practice involves dividing large quantities of food into shallow pans (no more than 2-4 inches deep) to maximize surface-area-to-volume ratio, then placing them uncovered in a walk-in cooler on the top shelf with space for air circulation.
It's the most accessible option for kitchens without specialized equipment and works for both liquids and solids. CDC/EHS-Net research and state health department guidance recommend a maximum depth of 2-3 inches.
Best practices:
- Leave pans uncovered during cooling to allow heat to escape
- Place on top shelves where air circulation is best
- Keep pans separated and unstacked to allow airflow on all sides
- Monitor temperatures at regular intervals
Advantages: Most accessible alternative for kitchens without specialized equipment; works for both liquids and solids.
Adding Ice as an Ingredient
For recipes that include water as an ingredient—stocks, stews, braised dishes—food-safe ice can be added at the end of cooking to rapidly reduce batch temperature before refrigeration. The FDA Food Code (§3-501.15) explicitly approves this method.
Best for: Stocks, sauces, soups, and braised dishes
Critical requirements:
- Ice must be made from potable water
- Ice must be handled as ready-to-eat food to prevent contamination
- Never use ice previously used as an exterior coolant (§3-303.11)
- Recipes must be adjusted: prepare food with less water initially, then add calculated ice to achieve desired final volume
Cautions:
- Account for dilution effect on flavor and consistency
- Calculate ice quantity carefully to maintain recipe integrity
- Ensure ice is stored and handled properly to prevent contamination
How to Choose the Right Cooling Method for Your Kitchen
The choice of cooling method depends on three primary factors: the type of food (liquid vs. dense solid, volume, fat content), the available equipment, and the kitchen's production volume.
Matching method to food type:
| Method | Best For | Equipment Required | Cooling Speed |
|---|---|---|---|
| Blast Chiller | High-volume solid and semi-solid foods | Blast chiller unit, electrical capacity | 90 minutes (140°F to 40°F) |
| Ice Water Bath | Large-batch liquids (stocks, soups, sauces) | Large containers, ice supply, thermometer | 2-3 hours with frequent stirring |
| Ice Paddle | Stirrable liquids in large batches | Frozen ice paddles, sanitizing station | 2-4 hours depending on volume |
| Shallow Pans | Most foods when other equipment unavailable | Shallow pans (2-3" deep), cooler space | 4-6 hours (must be monitored) |
| Ice as Ingredient | Stocks, sauces, stews with water content | Ice machine, recipe adjustment | 1-2 hours |

Staff execution matters: A technically sound method that staff don't follow correctly is more dangerous than a slower method done reliably. Training and standard operating procedures for each alternative method are essential.
Equipment investment reduces risk: NSF-listed equipment like commercial defrosting systems succeeds because it's designed for a specific task — controlled conditions, repeatable results, verifiable compliance. The same logic applies to cooling. Investing in the right equipment, whether blast chillers or properly sized shallow pans, reduces both food safety risk and operational waste. Specialized tools built for specific food-handling stages consistently outperform improvised alternatives.
Common Cooling Mistakes and What Happens When Food Cools Too Slowly
Most common mistakes causing cooling failures:
- Placing large uncovered pots directly in the walk-in cooler — raises ambient cooler temperature and cools too slowly
- Using containers deeper than 3 inches — identified by CDC/EHS-Net as a leading cause of cooling failures
- Stacking pans — blocks air circulation and traps heat
- Leaving food covered while cooling — traps heat and prevents temperature drop
- Not monitoring temperatures during the cooling window — no way to verify compliance or catch failures early
According to CDC observational data, approximately 35% of observed cooling steps in restaurants were slower than Food Code guidelines. A Nevada survey found 65.9% of facilities were not compliant with local two-stage cooling protocols.
When food lingers in the temperature danger zone too long, pathogens such as Clostridium perfringens, Bacillus cereus, and Salmonella multiply to dangerous levels. Unlike visible spoilage, these pathogens often leave no detectable signs — the food looks, smells, and tastes normal.
If cooling goes off track, the corrective action depends on how much time has elapsed:
- If food has not reached 70°F within 2 hours: Reheat to 165°F for 15 seconds and restart cooling using a different, faster method
- If food is above 70°F after more than 2 hours: Discard immediately
- If food is above 41°F after more than 6 hours: Discard immediately

Documentation and Best Practices for Alternative Cooling Methods
When using any alternative to the two-stage method, operators must demonstrate to health inspectors that their process consistently keeps food safe. This requires maintaining a cooling log.
Required cooling log fields:
- Food identification (name and batch size)
- Date cooling began
- Start time and temperature (when food drops below 135°F)
- Temperature at 2-hour checkpoint (must be ≤70°F)
- Temperature at 6-hour checkpoint (must be ≤41°F)
- Employee initials
- Cooling method used
- Corrective actions taken (if any)
Best practices for training and SOPs:
- Train staff on the specific cooling method used for each product category
- Calibrate thermometers regularly (at least weekly)
- Review cooling logs daily as part of routine food safety audits
- Conduct spot checks during cooling windows to verify compliance
- Document any deviations and corrective actions immediately
These SOPs feed directly into your broader HACCP obligations. Kitchens operating under a HACCP plan must identify cooling as a critical control point and define critical limits, monitoring procedures, and corrective actions within the plan.
For operations subject to FDA Food Code inspections, producing a validated record of your alternative method can be the difference between passing and failing this control point.
According to FDA Food Code §8-201.14, HACCP plans must formally document critical limits, monitoring procedures, corrective actions, verification procedures, and record-keeping systems for all critical control points, including cooling.
Frequently Asked Questions
What is an acceptable alternative to the two-stage cooling method?
Any method achieving the same food safety outcome—such as blast chilling, ice water bath immersion, ice paddle stirring, or shallow pan portioning—is acceptable under the FDA Food Code, provided the operator can demonstrate and document that food consistently reaches safe temperatures within required time limits.
What are the FDA guidelines for cooling food?
The FDA Model Food Code (§3-501.14) requires food to cool from 135°F to 70°F within 2 hours, and from 70°F to 41°F within a total of 6 hours, passing through the most dangerous temperature range as quickly as possible.
What is the temperature danger zone for cooling food?
The temperature danger zone is 41°F to 135°F, with the range between 70°F and 135°F being particularly critical during cooling because bacterial growth rates are highest there, especially for pathogens like Clostridium perfringens.
Can you use a blast chiller instead of the two-stage cooling method?
Yes, a blast chiller is one of the most widely accepted alternatives. It typically achieves cooling in roughly 90 minutes from 140°F to 40°F, which is faster than the two-stage timeline requires. Document each use in cooling logs.
How do you document alternative cooling methods for a health inspection?
Maintain a cooling log for each batch that records:
- Food type, start temperature, and cooling method used
- Temperature readings at the 2-hour and 6-hour marks
- Final temperature, total cooling time, and employee initials
This documentation demonstrates that the alternative consistently achieves required food safety outcomes.
What should you do if food doesn't cool fast enough?
If food has not reached 70°F within 2 hours, reheat it to 165°F for 15 seconds and restart cooling using a faster method. If it has been above 70°F for more than 2 hours, the food must be discarded immediately.